Baking brioche is like crafting a little piece of edible art—it’s soft, rich, and oh-so-satisfying. But have you ever wondered, why does brioche need to sit overnight? It’s a common question, especially if you’re eager to dive right into baking. The truth is, letting that dough rest is the secret to achieving the light, pillowy texture and deep, buttery flavor we all love. First, it might seem like an extra step, but trust me, the magic happens while the dough takes its beauty sleep.
Next, imagine waking up to dough that’s ready to transform into golden perfection. Not only does this technique make the process easier by breaking it into manageable steps, but it also gives you time to savor the experience. Brioche is more than bread; it’s an indulgent treat that’s worth the wait. So, grab your mixing bowl, and let’s explore the art of mastering this classic delight!

Table of Contents
Why Does Brioche Need to Sit Overnight? The Science Behind Brioche Dough Resting
Developing Gluten for Texture and Structure
Brioche dough loves a little rest because it helps the gluten develop properly. Gluten acts like a stretchy net that traps air, giving your brioche its signature fluffiness and softness. So, why does brioche need to sit overnight? Letting the dough rest allows the gluten strands to relax and strengthen, creating that perfect balance of chewy and tender textures. It makes kneading easier and ensures a beautifully stretchy dough. So, take your time and let the dough work its magic overnight
Quick Tip: Key Benefits of Gluten Development
| Feature | Impact on Brioche |
|---|---|
| Air trapping | Creates fluffy texture |
| Elastic structure | Keeps the shape while baking |
| Easier handling | Makes shaping dough a breeze |
Enhancing Fermentation for Better Flavor
When brioche dough rests overnight, it’s like giving it a slow, cozy rise. This extended fermentation deepens the flavor, creating a subtle sweetness and complexity that shorter rests can’t achieve. The yeast has time to break down the flour’s natural sugars, releasing tasty aromas and flavors. Also, this process makes the dough lighter and easier to bake evenly. Imagine tasting a brioche with hints of caramel and buttery goodness—it’s worth the wait!
Table: Fermentation Benefits
| Process | Flavor Effect |
|---|---|
| Yeast breaking sugars | Adds natural sweetness |
| Extended rise time | Develops complex flavors |
| Balanced hydration | Creates even texture in each bite |
The Role of Timing in Achieving Perfect Brioche
Overnight Resting for Consistent Proofing
An overnight rest isn’t just about flavor—it’s also about consistency. Letting brioche dough rest ensures every part rises evenly, avoiding dense spots. Resting in the fridge slows yeast activity, which prevents overproofing. First, it stabilizes the dough, making it less sticky and easier to work with. Next, it creates a smooth, uniform rise when baked. The result? A brioche with a consistent, fluffy crumb throughout!
Managing Dough Temperature During Extended Rest
Temperature plays a big role in how your dough behaves overnight. If it’s too warm, the dough might overproof. Too cold, and it won’t rise enough. Keeping the dough in the fridge provides the perfect balance. This keeps yeast active but controlled. Plus, it allows the butter to firm up, making the dough easier to shape the next day.
Quick Tips for Dough Temperature
- Chill dough between 35–40°F (1.5–4°C).
- Use an airtight container to retain moisture.
- Avoid placing dough near strong fridge odors.
Benefits of Overnight Resting for Home Bakers
Simplifying Your Baking Schedule
Overnight resting can make your baking routine more flexible. By prepping the dough the day before, you can split the work into manageable chunks. This means you’re not stuck in the kitchen all day. First, mix the dough and let it rest. Then, the next day, shape and bake it fresh. It’s a time-saver and a stress reliever!
Improving Dough Workability for Shaping
Resting the dough makes it smoother and less sticky, which is perfect for shaping. It’s like working with soft clay that holds its form. You’ll find it easier to roll, braid, or mold the brioche into fun shapes.
Advantages of Rested Dough
- Easier to handle and shape.
- Better rise during baking.
- Creates visually appealing results.
Common Mistakes to Avoid When Letting Brioche Rest Overnight
Preventing Overproofing During Extended Rest
Overproofing happens when dough rises too much and loses its structure. To avoid this, keep your dough covered and in a cool place. The fridge is ideal because it slows the yeast down. Also, make sure not to leave it out for too long before refrigerating.
Choosing the Right Storage Method for Optimal Results
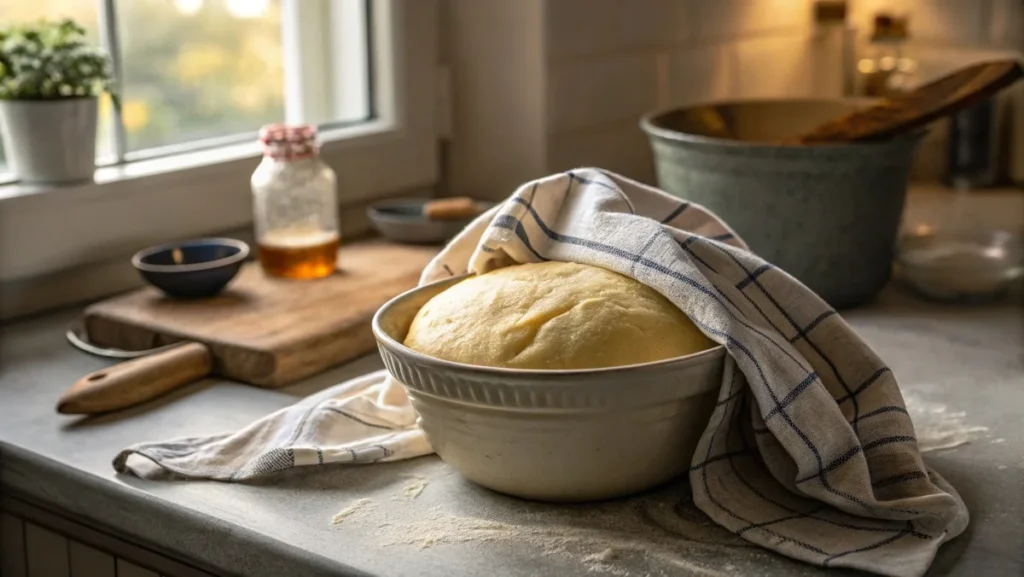
Storage matters! Use a lightly greased bowl and cover it with plastic wrap or a damp towel. This prevents the dough from drying out or sticking. Airtight containers work well, too, as they keep moisture locked in.
Storage Tips
- Use food-safe, airtight containers.
- Grease the container to avoid sticking.
- Label and date your dough for convenience.
“Ready to turn that brioche magic into fluffy rolls? Let’s bake joy with honey butter glaze!”

Fluffy Overnight Brioche Rolls with Honey Butter Glaze
Ingredients
Start your brioche journey with these delightful ingredients, each bringing something special to the mix:
- Whole Milk (¾ cup + 1 cup) – Adds a creamy richness to the dough while making it wonderfully soft and tender.
- Bread Flour (4 ¼ cups) – Perfect for creating that airy texture brioche is famous for. It’s like magic in a bag!
- Active Dry Yeast (1 package) – The powerhouse behind the fluff. This little ingredient helps the dough rise beautifully.
- Light Brown Sugar (½ cup) – Adds just the right amount of sweetness while helping the yeast thrive.
- Kosher Salt (1 ½ teaspoons) – Balances the flavors and enhances the overall taste.
- Eggs (1 egg + 1 egg yolk) – Gives the dough a gorgeous golden color and a soft, rich texture.
- Unsalted Butter (5 tablespoons) – Adds a buttery richness, making the brioche irresistibly tender.
- Honey (1 tablespoon) – Mixed with butter for the glaze, it adds a sweet, shiny finish.
- Coarse Sea Salt – Sprinkled on top for a delightful crunch and savory touch.

Step-by-Step Instructions
Making these rolls is easier than you think. Let’s break it down:
- Prepare the Tangzhong – In a small saucepan, whisk milk and flour together. Heat it gently until it thickens. This step ensures extra softness in your brioche.
- Activate the Yeast – Combine warm milk, yeast, and a teaspoon of sugar. Let it bubble for 5 minutes. This shows your yeast is ready to work its magic.
- Mix the Dough – Combine flour, salt, and sugar in a large bowl. Add the eggs, tangzhong, and yeast mixture. Stir to form a shaggy dough.
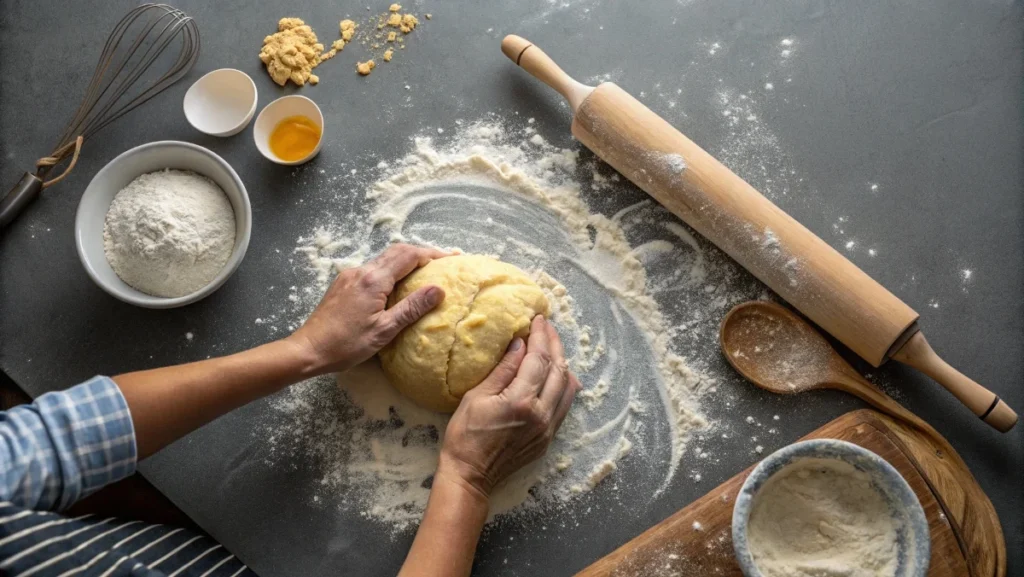
- Knead and Add Butter – Knead the dough for 10 minutes, then gradually add the butter. The dough will become smooth and elastic.
- Let It Rest – Cover the dough and refrigerate overnight. This slow rise develops flavor and structure.
- Shape the Rolls – The next day, divide the dough into rolls. Place them in a greased baking dish and let them proof for another hour.
- Bake – Brush with an egg wash and bake at 350°F for 25-30 minutes until golden brown.
Serving
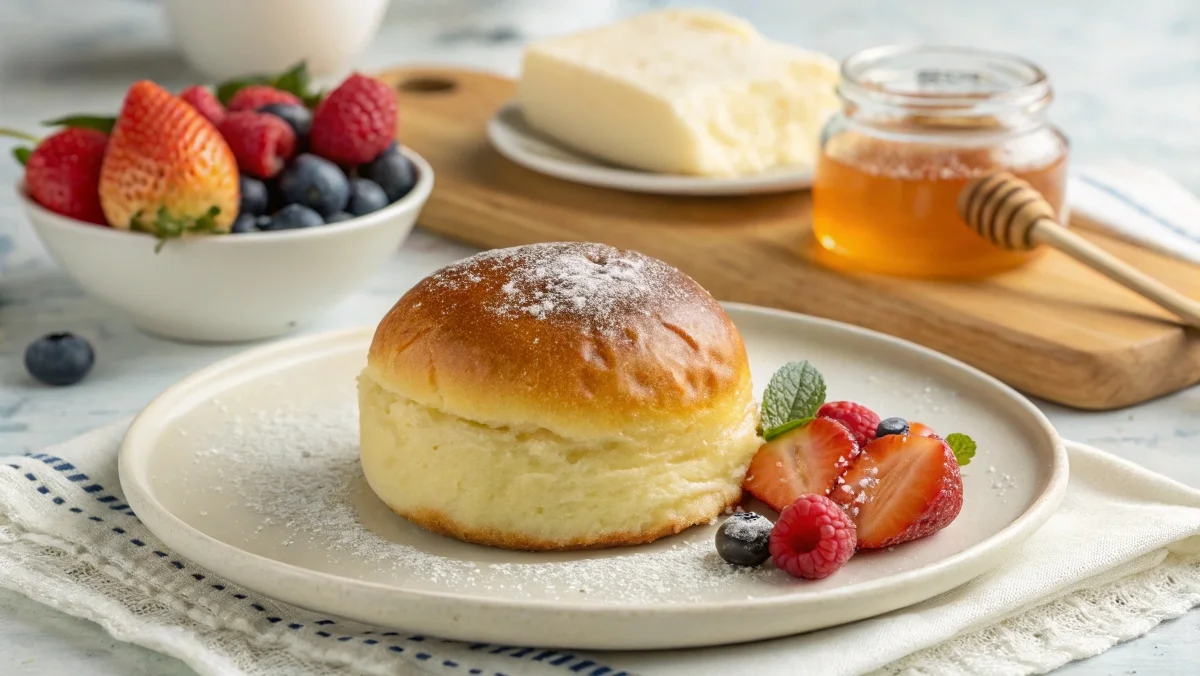
This recipe makes 12 fluffy rolls. Serve them warm with a drizzle of melted butter and honey glaze. Pair with a fresh fruit salad for a light breakfast or enjoy them as sliders filled with your favorite veggies or spreads. For a fun twist, sprinkle with cinnamon sugar before baking!
Tips and Hacks
- Use a Scale – Weigh the dough for evenly sized rolls.
- Add Zest – Mix a bit of orange or lemon zest into the dough for a citrusy kick.
- Freeze for Later – Freeze shaped rolls and bake them fresh when needed.
- Keep It Warm – Proof the dough in a slightly warm oven for faster results.
Nutrition Facts
- Serving size: 1 roll
- Calories: 220
- Fat: 6g
- Carbs: 35g
- Protein: 5g
- Sodium: 210mg
- Fiber: 1g
Note: These values are estimates based on standard ingredients and preparation.
Prep Time
- Prep time: 25 minutes
- Rest time: 12 hours
- Cook time: 30 minutes
- Total time: 12 hours 55 minutes
Note: Times may vary depending on your kitchen setup.
Here are some delightful pairings to complement your Fluffy Overnight Brioche Rolls with Honey Butter Glaze:
- Braided Chocolate Chip Brioche Recipe: Indulge in a sweet twist with this chocolate-infused brioche.
These recipe will enhance your dining experience, making each meal memorable.
Frequently Asked Questions (FAQs)
Does brioche have to rest overnight?
Yes, brioche benefits from resting overnight! Why? The dough needs time to relax and develop flavor. This resting period helps the yeast work its magic, making the dough light and airy. By sitting overnight, the flavors intensify and the texture improves, making it a dream to bake. So, while it might take some time, you’ll love the results. It’s worth the wait!
Why do you need to refrigerate brioche dough?
Refrigerating brioche dough is key for controlling the rise and flavor development. The cool environment slows down the fermentation process, allowing the dough to rise gradually. This gives the yeast time to create those rich flavors. It also helps with shaping the dough later. So, when you refrigerate brioche dough overnight, you’re ensuring that each bite will be soft, fluffy, and full of flavor!
What happens if you overproof brioche?
Overproofing brioche can lead to a dough that’s too airy and weak. The yeast may have exhausted its food source, resulting in a collapsed texture. It can cause your brioche to deflate while baking or lead to a denser, less fluffy final product. To avoid this, keep an eye on the dough’s rise and try not to let it rest too long. Timing is key for perfect brioche!
Why does brioche take so long to rise?
Brioche takes longer to rise because it’s rich in butter and eggs. These ingredients slow down the yeast’s activity, meaning it needs more time to ferment. Plus, the dough is heavier, requiring a longer proofing period to allow air bubbles to develop. Don’t worry though – it’s all part of the process! With patience, you’ll get beautifully soft, airy brioche that’s totally worth the wait.
Mastering the Art of Brioche Baking
Now that you know why brioche needs to sit overnight, you’re ready to bake like a pro! The resting period allows the dough to develop rich flavor and achieve the perfect texture. By giving the dough time to relax, you allow the yeast to work its magic. The result? A fluffy, melt-in-your-mouth brioche that will impress everyone. Remember, patience is key when it comes to brioche baking. Let the dough rest, and you’ll be rewarded with a light, airy texture that’s totally worth the wait. So, whether you’re making rolls, loaves, or decadent pastries, don’t skip the overnight rest. Enjoy the journey of mastering this delicious, buttery bread. You’re going to love how it turns out! Happy baking!

